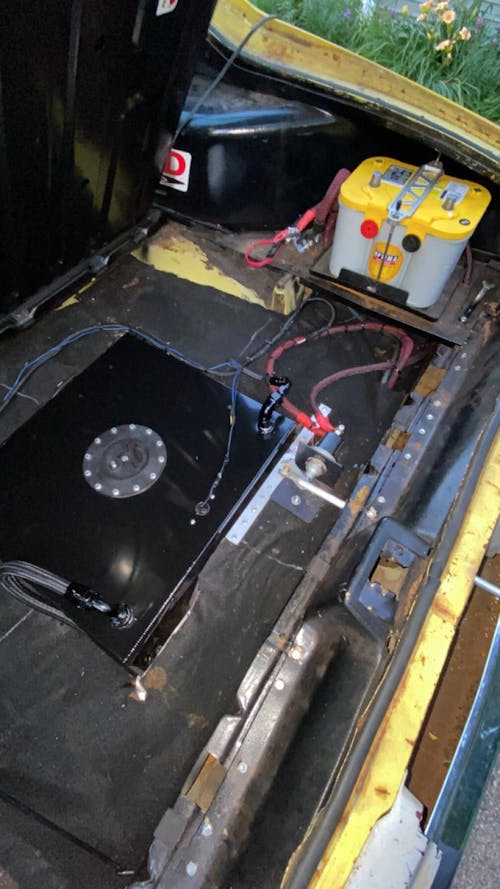
![EVIL ENERGY 4/6/8/10AN PTFE Fuel Line Kit | E85 Nylon Braided Hose | 16/20FT Black Black with Comprehensive Fittings [20FT]](http://www.ievilenergy.com/cdn/shop/files/Test-2025-Evilenergy-125598065_940x.png?v=1742144807)
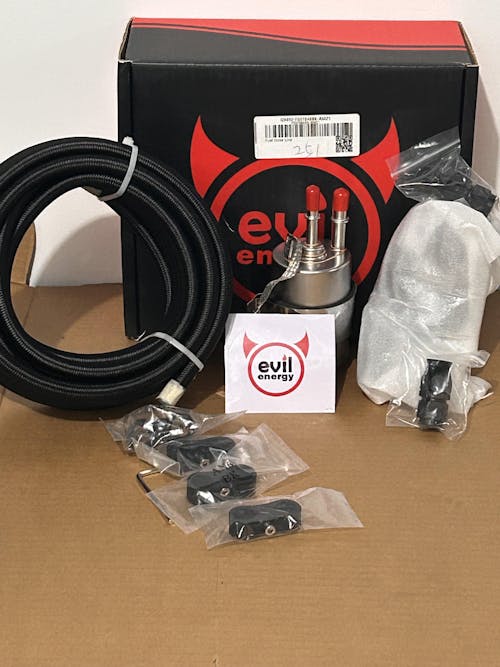
![ptfe hose fitting kit [16FT]](http://www.ievilenergy.com/cdn/shop/files/Test-2025-Evilenergy-125598171_940x.png?v=1742144807)
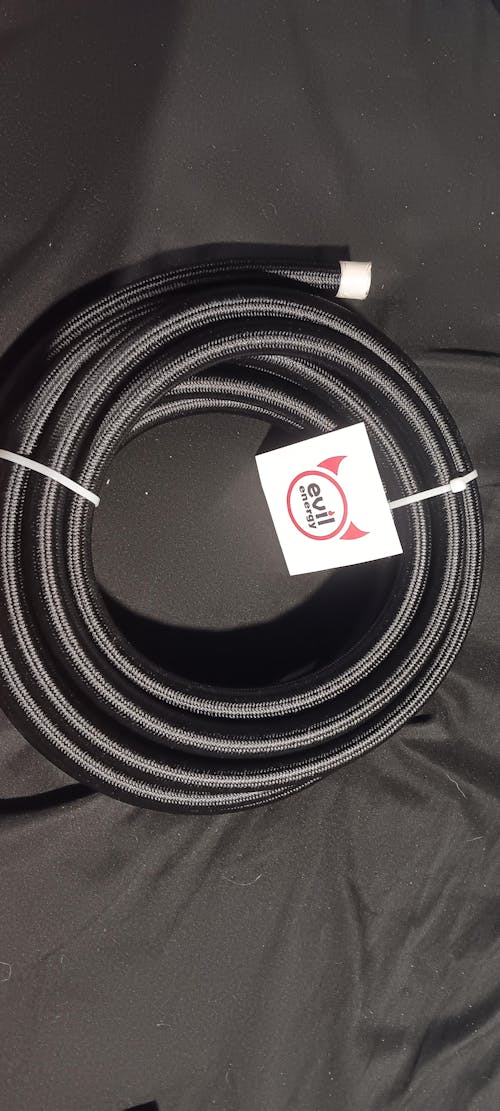
![CPE Fuel Line[25FT]](http://www.ievilenergy.com/cdn/shop/files/25FTCPE_FuelLine_940x.png?v=1735220649)
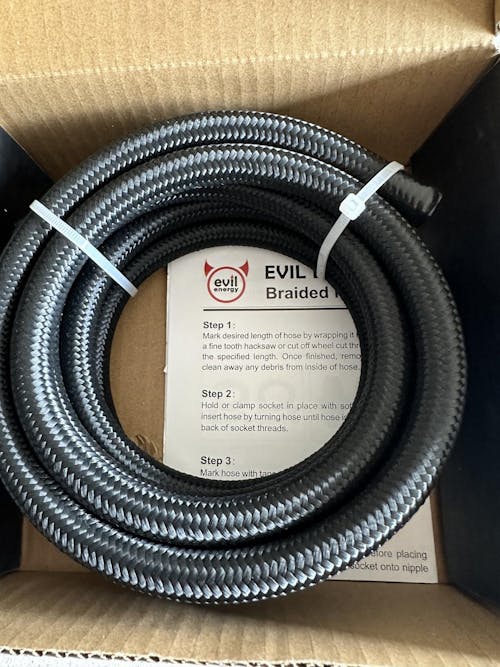
![CPE Fuel Line[20FT]](http://www.ievilenergy.com/cdn/shop/files/20FTCPE_FuelLine_940x.png?v=1735220649)
How to Fix a Clogged Fuel Filter: A Step-by-Step Guide

When your vehicle starts having trouble starting or experiences poor performance, it may be a sign of a clogged fuel filter. The fuel filter plays a vital role in ensuring that your engine gets the clean fuel it needs to run smoothly. A clogged fuel filter can cause fuel flow issues, leading to reduced engine power, stalling, or even failure to start.
In this blog, we’ll guide you through the steps to fix a clogged fuel filter and provide tips on how to prevent it from happening again.
Why Does a Fuel Filter Get Clogged?
Before diving into the repair process, let’s first understand why a fuel filter may become clogged. Over time, dirt, rust, and other contaminants can accumulate in the fuel system, making their way to the filter. As the filter collects these impurities, it can become clogged, restricting the flow of fuel to the engine.
If you notice any of the following symptoms, your fuel filter may be clogged:
- Difficulty starting the vehicle
- Loss of power during acceleration
- Engine stalling or sputtering
- Poor fuel economy
Tools You’ll Need to Fix a Clogged Fuel Filter
Before you begin the repair, make sure you have the following tools on hand:
- New fuel filter (specific to your vehicle model)
- Wrenches and socket set
- Screwdrivers
- Safety gloves and goggles
- Fuel line disconnect tool (if necessary)
Step-by-Step Guide to Fix a Clogged Fuel Filter
1. Safety First
Before you start, make sure your vehicle is turned off and the parking brake is engaged. Wear safety goggles and gloves to protect yourself from any fuel spills.
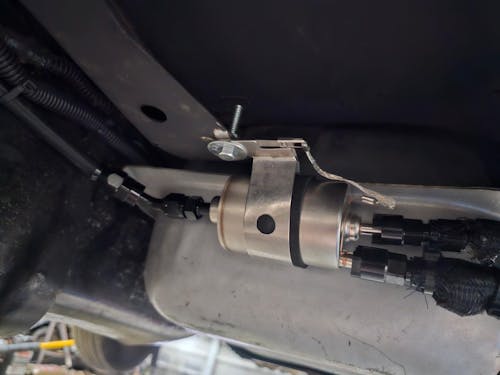
2. Locate the Fuel Filter
The fuel filter is usually located along the fuel line between the fuel tank and the engine. It may be under the vehicle, near the fuel tank, or in the engine compartment. Consult your vehicle's manual for the exact location.
3. Relieve the Fuel System Pressure
To avoid fuel spraying when you disconnect the fuel lines, you need to relieve the pressure in the fuel system. Most vehicles have a fuel pressure relief valve. Refer to your manual to find out how to do this safely.
4. Disconnect the Fuel Lines
Once the fuel system pressure is relieved, you can disconnect the fuel lines from the filter. Use the appropriate wrenches to loosen the connections, and make sure to keep a rag handy to absorb any spillage.
5. Remove the Old Fuel Filter
After disconnecting the fuel lines, remove the old filter. It may be attached with bolts or clips, depending on the model. Carefully remove the filter and dispose of it properly.
6. Install the New Fuel Filter
Take the new fuel filter and install it in the same orientation as the old one. Make sure the arrows on the filter match the direction of fuel flow. Secure the filter using the same bolts or clips.
7. Reconnect the Fuel Lines
Once the new filter is in place, reconnect the fuel lines to the filter, ensuring that the connections are tight and secure.
8. Check for Leaks and Test the Vehicle
Turn the ignition on (without starting the engine) to pressurize the fuel system. Check the connections for any leaks. If everything looks good, start the engine and check if the problem is resolved.
Preventing a Clogged Fuel Filter
To avoid dealing with a clogged fuel filter in the future, follow these tips:
- Use high-quality fuel: Choose fuel from reputable gas stations to avoid contaminants in your fuel.
- Regular maintenance: Follow your vehicle’s maintenance schedule and replace the fuel filter regularly, typically every 30,000 to 40,000 miles.
- Fuel system cleaning: Consider using a fuel system cleaner to help keep your fuel filter and fuel lines clean.